Install/Remove 3D Resin AirPods Max Case (No Scratches)
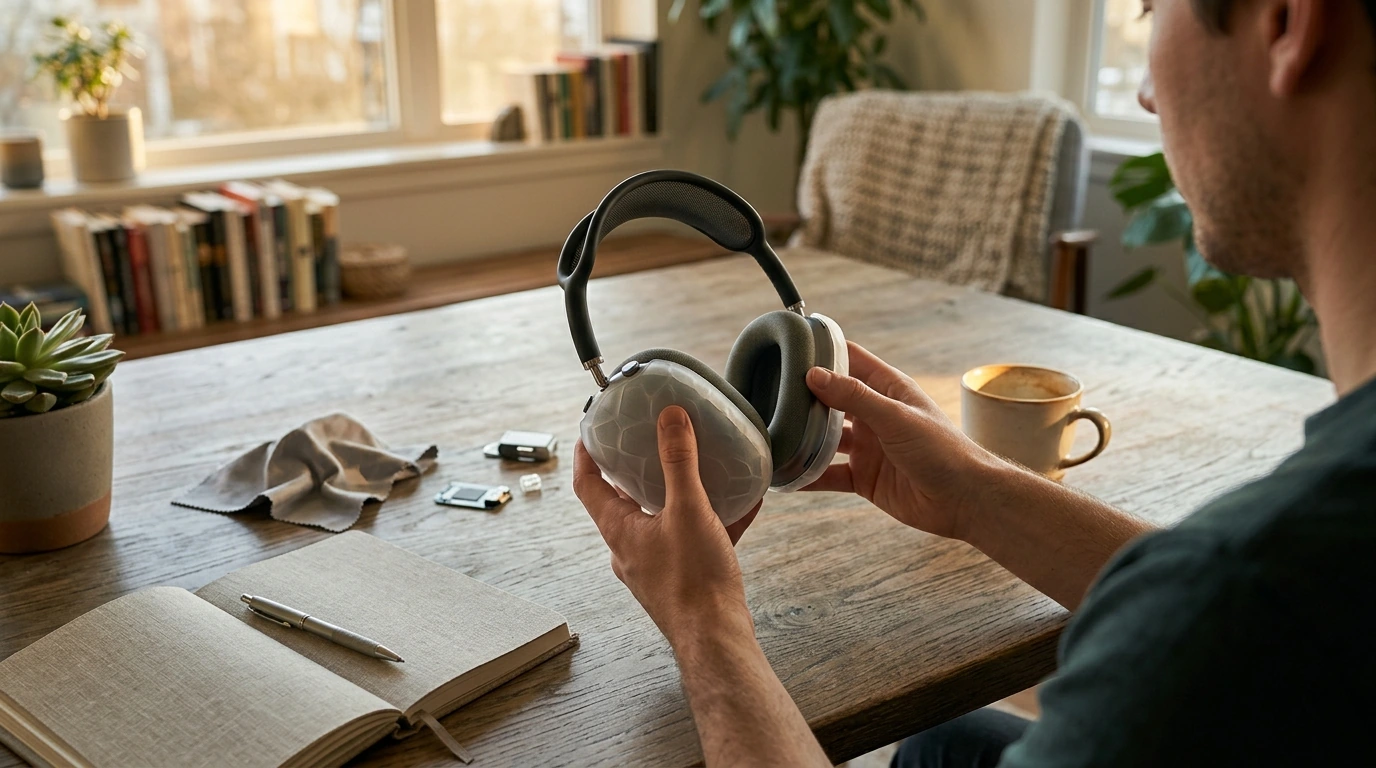
How do you install and remove a 3D resin AirPods Max case without scratching the headphones?
3D resin AirPods Max cases look slick, but they’re rigid—so the safest install/removal is slow, aligned, and dust-free. Most scratches happen when tiny grit gets trapped between the case and the aluminum ear cups, or when you pry the case off at an angle.
Before you start: prep the surfaces
Wash and dry your hands, then wipe the ear cups and the inside of the resin pieces with a clean microfiber cloth. If you’ve been outdoors, use a soft brush or a burst of air to remove fine dust around seams and edges. Don’t install over sand, pocket lint, or residue—those are the “scratch makers.”
How to install (no forcing)
Set the headphones on a soft towel with one ear cup facing up. Identify the correct left/right resin piece and line up any cutouts (Digital Crown, button, microphone ports) before touching the surface. Start by seating one edge (typically the side closest to the cutouts), then press around the perimeter with even, gentle pressure until you feel it click into place. If it resists, stop and realign—forcing a rigid shell can drag grit across the finish.
How to remove (lift evenly, don’t pry hard)
Work on a towel to prevent drops. Using your fingertips (not metal tools), lift the case from the loosest edge first—often near the cutout side—then walk your fingers around the rim to gradually release tension. Keep the case moving outward rather than twisting sideways. If it feels stuck, pause and check for a snagged edge; a slight flex from multiple points is safer than a single aggressive pry.
Extra scratch-prevention tips
Recheck the inside of the case after every removal, especially if you carry your headphones in a bag. If your case includes adhesive pads or protective films, make sure they’re clean and fully seated so they don’t bunch up and rub. For fit notes and care specifics, see the full guide here: https://marvellene.com/guide-alien-snake-3d-resin-airpods-max-case-fit-care/.
FAQ
How do you clean a 3D resin AirPods Max case?
Wipe it with a dry or slightly damp microfiber cloth, then dry immediately. Avoid alcohol, acetone, and abrasive cleaners, which can haze resin or dull glossy finishes.














Leave a comment